Raised garden beds are great for growing plants. They make gardening easier and more fun. This guide will help you learn how to create your own raised garden beds. Let’s get started!

Credit: www.youtube.com
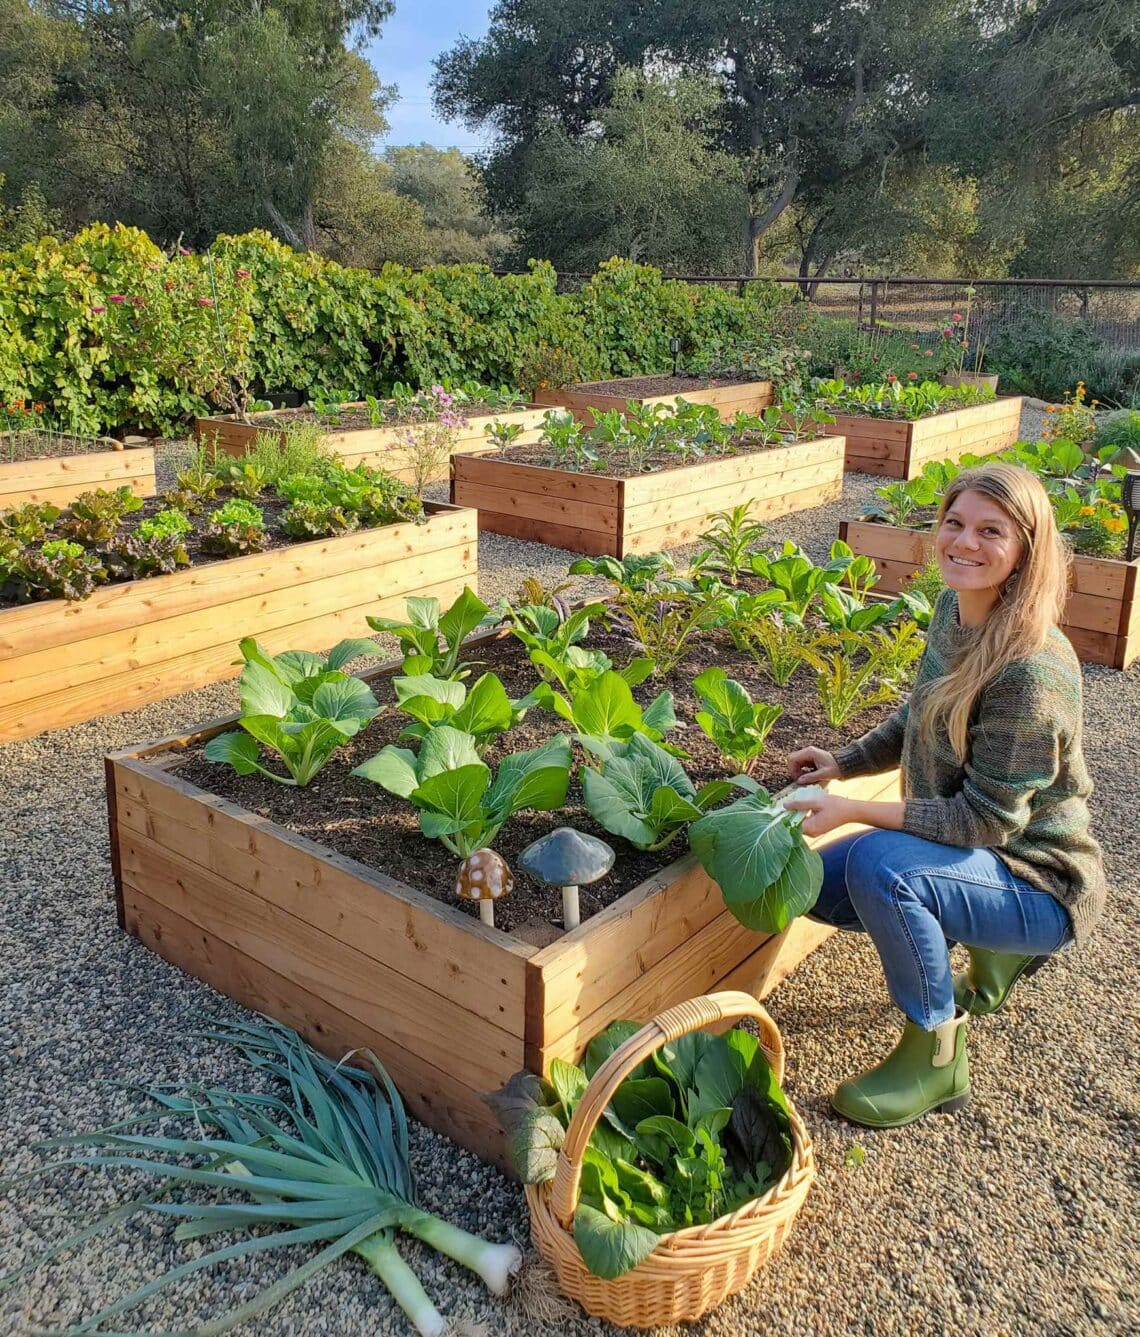
Why Choose Raised Garden Beds?
Raised garden beds have many benefits:
- Better Drainage: Water drains well in raised beds.
- Less Weeding: Weeds are easier to control.
- Improved Soil: You can add good soil easily.
- Easy Access: They are easier to reach.
- Longer Growing Season: Soil warms up faster in spring.
Credit: www.wilsonbrosgardens.com
What You Need to Build Raised Garden Beds
Before you start, gather your materials. Here is a list:
- Wood planks (cedar or pine work well)
- Wood screws or nails
- Drill or hammer
- Measuring tape
- Level
- Soil for filling
- Plants or seeds
Choosing the Right Location
Pick a good spot for your raised garden bed. Here are some tips:
- Look for a sunny area. Most plants need at least six hours of sun.
- Choose a flat spot. This helps with drainage.
- Avoid areas with too much shade. This can slow plant growth.
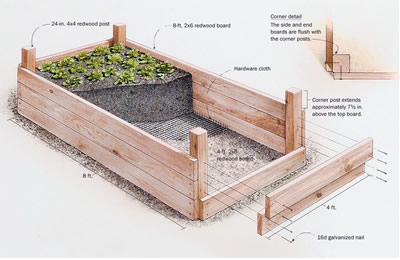
Building Your Raised Garden Bed
Follow these steps to build your raised garden bed:
Step 1: Decide On Size
The size of your bed matters. A common size is 4 feet by 8 feet. This size is easy to reach from all sides.
Step 2: Cut The Wood
Use wood planks to make the sides. Cut four pieces:
- Two pieces at 4 feet
- Two pieces at 8 feet
Step 3: Assemble The Bed
Now, put the pieces together. Use screws or nails. Make sure the corners are square. Use a level to check if it is even.
Step 4: Choose The Right Height
The height of the bed can vary. A good height is 12 to 24 inches. This helps with drainage and makes it easy to work.
Step 5: Add A Bottom (optional)
You can add a bottom to your bed. This helps keep pests out. Use wire mesh or plywood.
Filling Your Raised Garden Bed
Now it’s time to fill your bed with soil. Follow these steps:
Step 1: Add Cardboard
Put cardboard at the bottom. This helps with weeds. It will break down over time.
Step 2: Add Soil Mix
Use a mix of soil for the best results:
- Topsoil
- Compost
- Peat moss or coconut coir
Mix these materials together. Fill the bed to the top.
Planting in Your Raised Garden Bed
Now you can plant! Here are some tips:
Step 1: Choose Your Plants
Think about what you want to grow. Some easy plants include:
- Tomatoes
- Carrots
- Lettuce
- Herbs like basil or parsley
Step 2: Planting Seeds Or Seedlings
You can plant seeds or young plants. Follow the directions on the seed packets. Make holes in the soil and place the seeds in.
Step 3: Watering
After planting, water the soil. Keep it moist but not soggy. Use a gentle spray to avoid washing away seeds.
Maintaining Your Raised Garden Bed
Maintenance is key to a healthy garden:
- Water Regularly: Check the soil each week.
- Weed Often: Remove weeds when you see them.
- Feed Your Plants: Use fertilizer as needed.
- Watch for Pests: Check for bugs that can harm plants.
Seasonal Care for Your Raised Garden Bed
Different seasons need different care:
Spring
Prepare your garden for planting. Remove dead plants and weeds. Add fresh soil if needed.
Summer
Water regularly. Harvest your crops when they are ready. Keep an eye on pests.
Fall
Gather remaining crops. Add compost to the soil. Prepare for winter.
Winter
Cover your garden bed. Use mulch or leaves. This helps protect the soil.
Conclusion
Creating raised garden beds is easy and rewarding. You can enjoy fresh vegetables and flowers from your garden. Follow these steps to get started today. Happy gardening!
