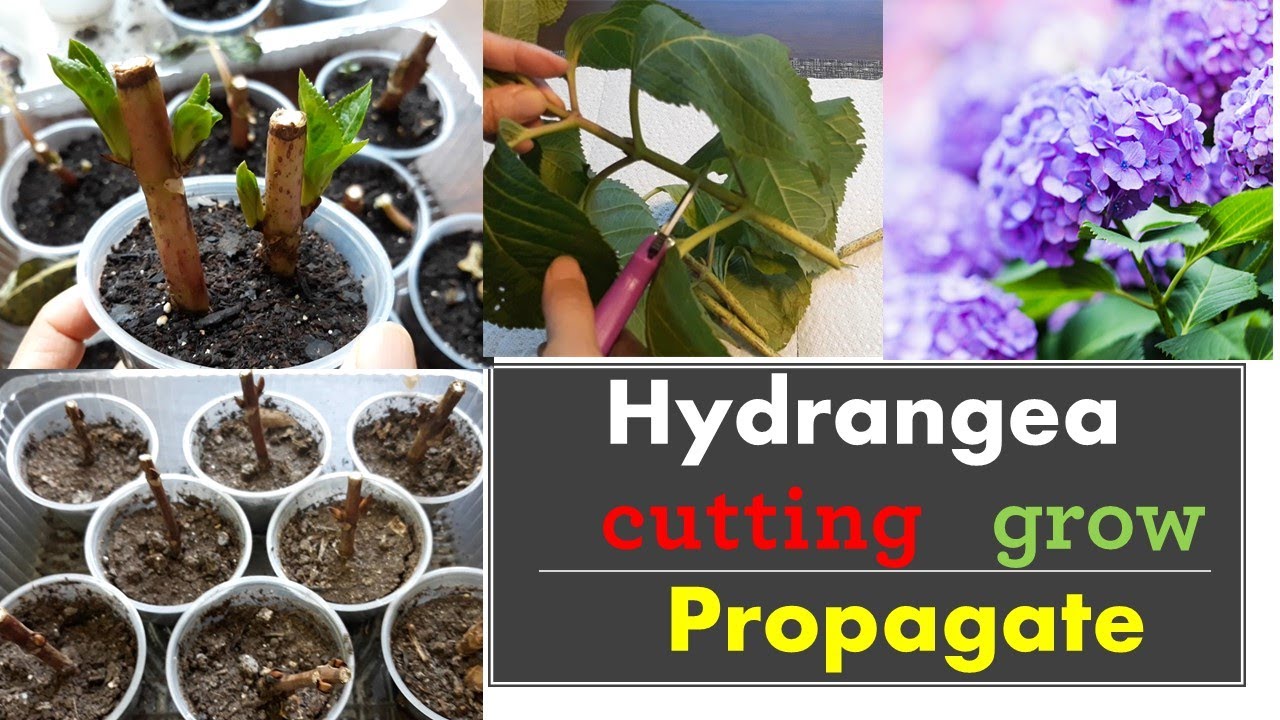
Hydrangeas are beautiful flowers. They come in many colors. People love to grow them in their gardens. If you want more hydrangeas, you can propagate them. Propagation means making new plants from old ones. This is an easy and fun process. In this article, we will learn how to propagate hydrangeas from cuttings.
What Are Cuttings?
A cutting is a small piece of a plant. It can grow into a new plant. You take a cutting from the parent plant. Then you put it in water or soil. With time, it grows roots. After that, it can live on its own.
Why Propagate Hydrangeas?
There are many reasons to propagate hydrangeas:
- Save money on new plants.
- Grow more of your favorite flowers.
- Share plants with friends and family.
- Keep special varieties alive.
Best Time to Take Cuttings
The best time to take cuttings is in summer. This is when the plant is healthy. Look for soft, green stems. These stems are called “softwood cuttings.” They are easy to root. Avoid taking cuttings in winter or fall. The plant is not active then.
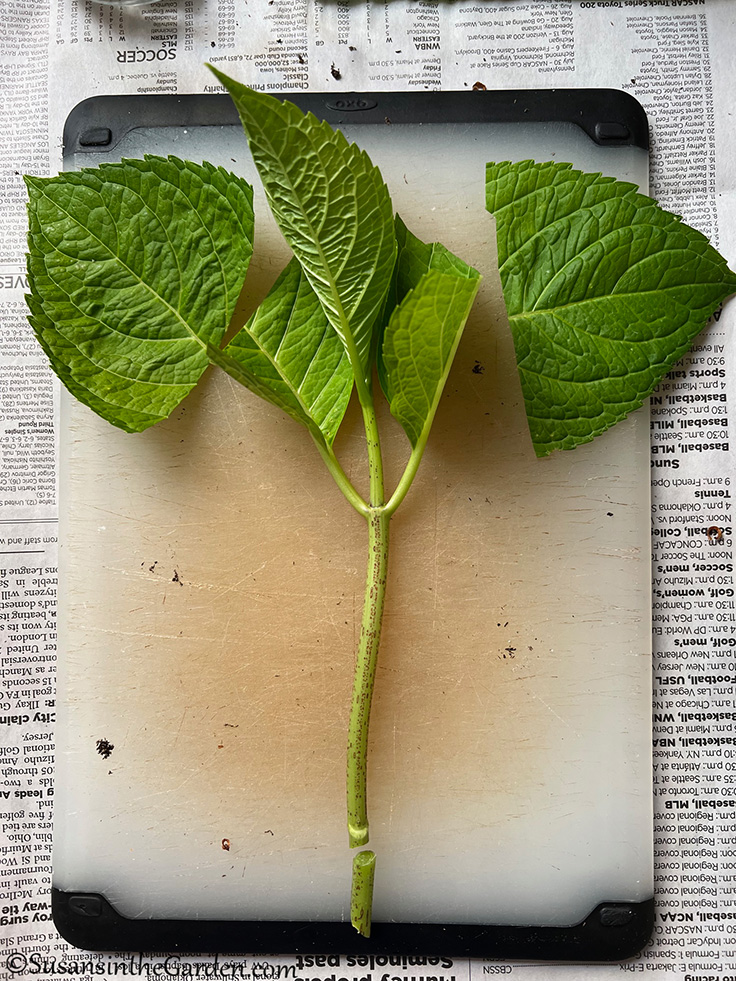
Credit: www.susansinthegarden.com
Tools You Will Need
Gather some tools before you start:
- Sharp scissors or pruning shears.
- Small pots or containers.
- Potting soil or seed starting mix.
- Water.
- A clear plastic bag or plastic wrap.
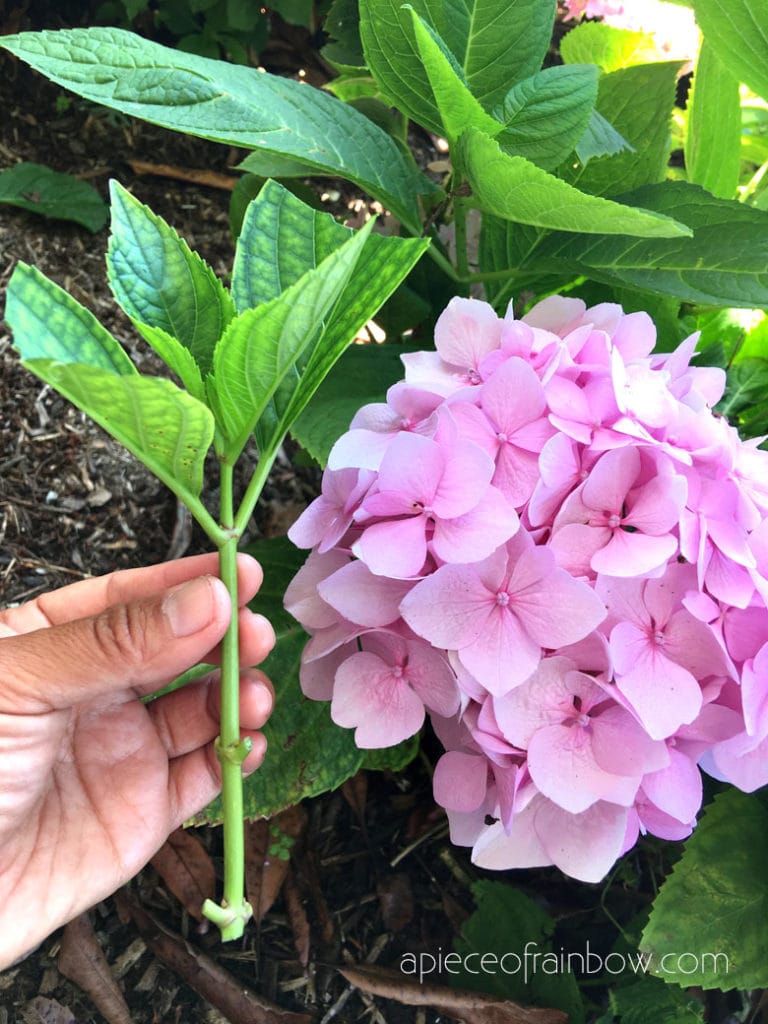
Credit: www.apieceofrainbow.com
Steps to Propagate Hydrangeas from Cuttings
1. Choose The Right Plant
Pick a healthy hydrangea plant. Look for one with strong stems. Avoid plants with yellow leaves or flowers.
2. Take The Cuttings
Use sharp scissors to cut stems. Cut about 4 to 6 inches long. Make the cut just below a leaf node. A leaf node is where leaves grow from the stem. Remove the bottom leaves. Leave 2-3 leaves at the top.
3. Prepare The Cuttings
Dip the cut end in rooting hormone. This helps the cutting grow roots. You can skip this step, but it helps. If you don’t have rooting hormone, that’s okay.
4. Plant The Cuttings
Fill a small pot with potting soil. Make a hole in the soil with your finger. Place the cutting in the hole. Press the soil around it. Make sure it stands up straight.
5. Water The Cuttings
Water the soil gently. Make it moist but not too wet. Too much water can hurt the cutting. Use a spray bottle to water if you have one.
6. Cover The Cuttings
Cover the pot with a clear plastic bag. This keeps humidity inside. You can also use plastic wrap. Make sure the bag does not touch the leaves. This is important to avoid rot.
7. Place In A Bright Spot
Put the pot in a bright area. It should get indirect sunlight. Too much sun can burn the cutting. Keep the temperature warm, around 70°F (21°C).
8. Wait For Roots To Grow
Check the cuttings every few days. Keep the soil moist. After 4 to 6 weeks, roots should grow. You can gently pull on the cutting. If you feel resistance, it has roots.
9. Transplant The Cuttings
Once roots form, it’s time to transplant. Remove the plastic bag. Prepare a larger pot with soil. Carefully take the cutting out of the small pot. Place it in the new pot. Fill with soil and water it.
10. Care For Your New Plant
Keep your new plant in a bright spot. Water it regularly. As it grows, you can move it outside. Make sure to harden it off first. This means gradually exposing it to sunlight.
Common Problems
Sometimes cuttings do not grow. Here are some common problems and solutions:
- Too much water: This can cause rot. Let the soil dry out a bit.
- Not enough light: Move the pot to a brighter spot.
- Weak cuttings: Make sure to choose healthy stems.
Conclusion
Propagating hydrangeas from cuttings is easy. With the right steps, you can grow new plants. Remember to be patient. It takes time for roots to grow. Soon, you will have beautiful hydrangeas in your garden. Enjoy the process and happy gardening!
